Wednesday, March 29, 2017

Die n° 2

Today I made a second die set for the running boards.
Tomorrow I will make a few more.
The bends I need to make can not be made without them.

Tuesday, March 28, 2017

Cutting and bending.

Today I did cut the stainless plate into manageable pieces.
All pieces are cut to the size I need and some pieces were bent into shape.
Of the complete plate there is not much left for scrap.
Tomorrow I will have to make the remaining die that I need to make the running boards.

Monday, March 27, 2017

Measurements

As soon as I got home from work I started on the running boards.
I wrapped them in paper with the aid of magnets and traced the outlines.
I also determent where the steps should be mounted on the running boards.
Next I took the wrapper off and made some measurements. With those I calculated the material needed to make the boards.
The Stainless plate was then loaded on the trailer....
And now I will have to wait until tomorrow after work where I will make the first cut and bent on the plate.

Friday, March 24, 2017

Alternator and radiator

Today I tackled the Alternator first. The belt that will go on the engine is 13 mm wide. On the alternator its only 9.5 mm wide. So I will have to make a new pulley for the alternator. I made it from a piece of steel I had laying around.
The pulley is now 2 mm wider then the one that on it and a little bit larger in diameter.
 Then I altered the radiator mount. Since the radiator is a few cm bigger than original the braces that I put in it (original) interfere with the radiator. So I brought them to the outside a few cm.
 Then I sprayed the repaired parts with some primer.
 Then I started with the running boards. I will make new ones from stainless. So I took some measurements.
 And then I fabricated  a new die set to roll in the beads.
 Then the primer was dry and I painted the frame black.

Thursday, March 23, 2017

Brackets

Today I first took all the parts that were hanging up and laid them partly in the truck bed and in the cabin.
All items that need to be painted are in there.
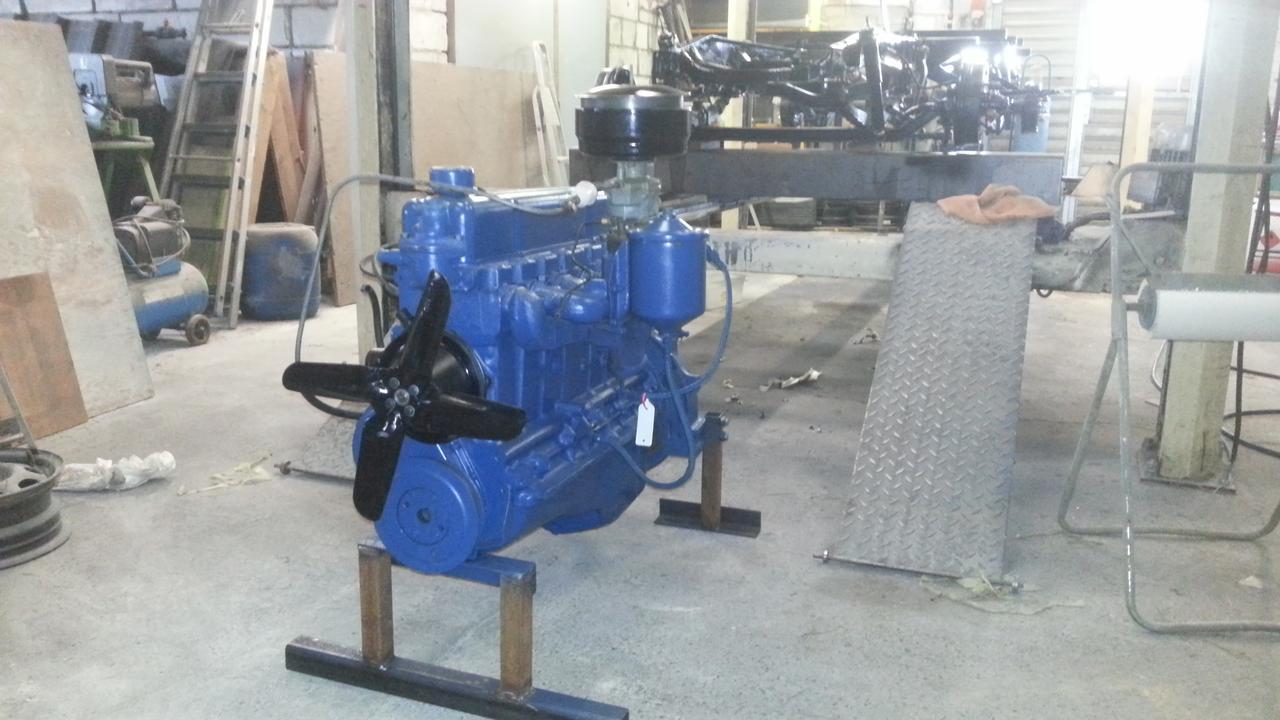
 While I was moving the parts and cleaning up the floor my colleagues are installing the transmission and connecting the drive train. They also asked me to make a bracket for the alternator. So I took a piece af metal milled in some small slots and we're off.
 The picture below shows the drive train in place. even the speedo gear i made yesterday.
 I then started making some brackets to hang the exhaust on. They are made from stainless.
 a picture form the alternator bracket before painting.
 The original bracket that was on the car was modified to accept the new muffler.
 I also made a stainless bracket for the rear exhaust tube.
 Here you can see the brackets I made in place. Now that all the brackets are in place I tacked the different sections together with my TIG welder.
 I removed the exhaust so i could easily weld the stainless exhaust together. From welding there is a brown black residue around the weld.
 With some acid that is removed and the welds now look clean.
 All the brackets were painted black.
 Wile the paint is drying I went to the shop and get me some rubber puffer blocks.
When I arrived back home I mounted the exhaust back in place with new bolts and the puffer blocks.
 They are looking nice.
 And finally I installed the bracket for the alternator. The top bracket has to be made as soon as the water pump is back.

Wednesday, March 22, 2017

Primer

The day was started with taking a picture of how it is now. Not fitting.
 I mean the exhaust of the car  to the manifold.
Then a picture of how it should be.
 And then a picture that's part of the solution.
 So I made a new mount for the exhaust to the manifold. All in stainless so it will not rust. i even made a seal for the exhaust using an old (new)  seal from the manifold for a Daewoo. And it fits.
 Then I went shopping. I went to the store to pick up some primer for the car. I even got a piece of plastic to cover the chassis.
 Then I started with sanding the inside of the remaining pieces.
 As soon as they were ready i put them at there location (hung them up high) for the application of the primer.
 My shop is now covered with parts hung up ready for paint.
 Then i blow of the remaining dust. Then prepare the surface with silicon remover and prepared the paint and started painting. It took several hours to cover all the parts with primer.
Below you can see the result.

Tuesday, March 21, 2017

With a little help....

With a little help from my friends today we got a lot of work done.
While they were installing the engine and transmission in the frame, I opted to do some thing else.
I started with the fabrication of the speedo driven gear.
Previously I already had it disassembled  and made the axle a little straighter.
 First I turned the axle down where the gear is pressed on to make it perfectly straight.
 Then I ground a piece of HSS steel to the profile taken from the old gear.
 And then I made a holder for the cutter.
Here you can see the cutter mounted in my mill. I had to re grind the profile because the first time the rear was dragging on the cut.
Then I attached my rotary table on my mill using my tilt table to give it the angle that the gear has. and started milling on the first gear.
 I did make a few errors so I had to try a few times to get everything right.
 But finally everything came out right and it's now ready to be installed.
In between this whole operation I had to stop and do some other stuff.  The Yoke that mounts to the transmission was misaligned. I turned an axle to mount the yoke in my lathe so its running thru. Then the tops where the bushing is mounted on is turned down so that the mounts are 90° to the centerline. Then on the mill the half round holes are milled out to give more clearance. And with some special filler that really gets hard the space in between the hole and bushings are filled.
Oh, the other guy's Well they mounted the engine and the tranny like i said before. And trial fitted the exhaust. For that last one I will have to make a new flange to mount the exhaust to the engine.
 Well a job well done.

Monday, March 20, 2017

Cabin is ready

Today I started with removing the masking tape and paper from the chassis.
 Then I put the engine that came during last week, in front of the chassis.
 And then I started with applying filler to the truck bed panels.
 Some sanding and more filler went on.
 And then more sanding followed and at last I sanded everything ones more with 180 grid paper. These parts are now ready to receive a coat of primer and some spray filler.
 Next on the list is the cabin. The outside was sanded with 180 grid paper and while sanding the roof a few dents were exposed. I filled them with some filler and then sanded them down.
 I then sanded the complete interior of the cabin and removed all the dust as good as possible in this stage.
At the end of the day the cabin is also ready to receive some primer and filler.